
Passenger van body repair presents unique challenges due to complex structures and larger sizes, making even minor dents visible. Precision and quality are paramount, with specialized tools enhancing repair speed and effectiveness. This guide outlines a step-by-step process, from damage assessment to finishing with priming and painting, emphasizing both structural integrity and aesthetic appeal to ensure client satisfaction while adhering to factory specifications for passenger van body repair.
In the realm of automotive restoration, passenger van body repair stands out as a specialized craft. These versatile vehicles present unique challenges due to their size and diverse structural components. This article delves into the key elements that underpin success in this domain. We explore the understanding of these challenges, equip readers with essential tools and techniques, and provide a step-by-step guide for achieving precision and quality in passenger van body repair.
- Understanding the Unique Challenges of Passenger Van Body Repair
- Essential Tools and Equipment for Achieving Precision and Quality
- Step-by-Step Guide to Effective Passenger Van Body Repair Techniques
Understanding the Unique Challenges of Passenger Van Body Repair
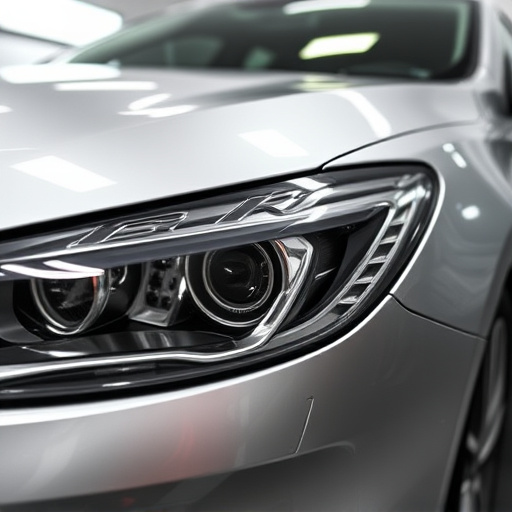
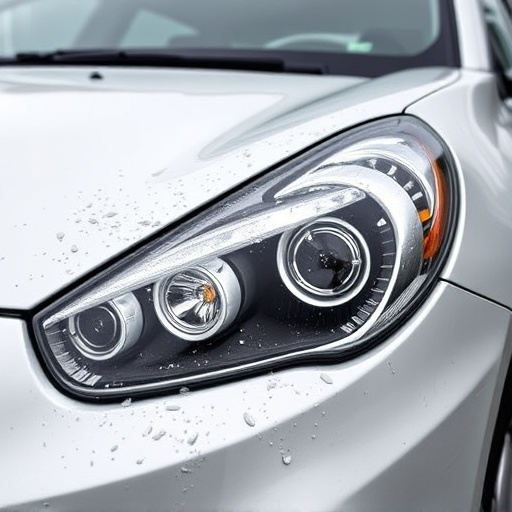
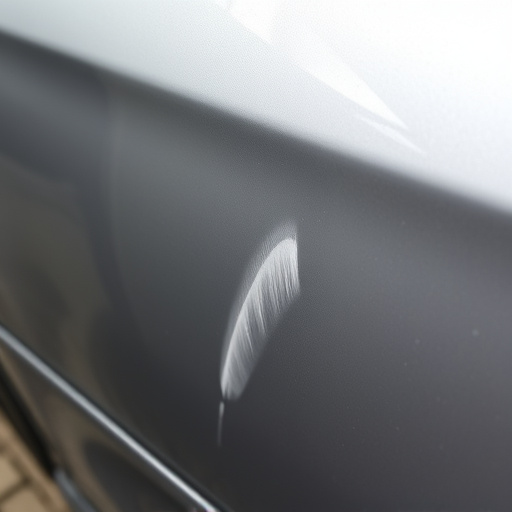
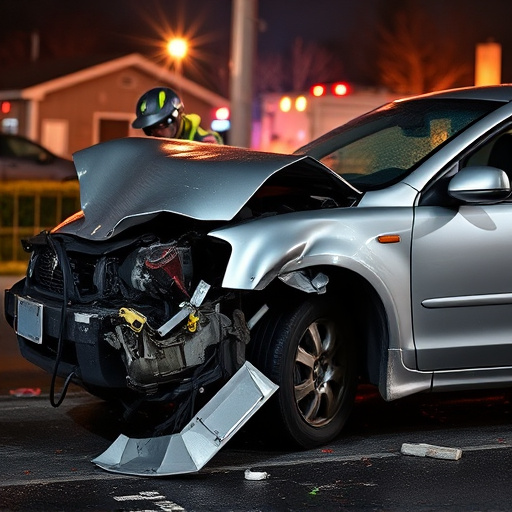
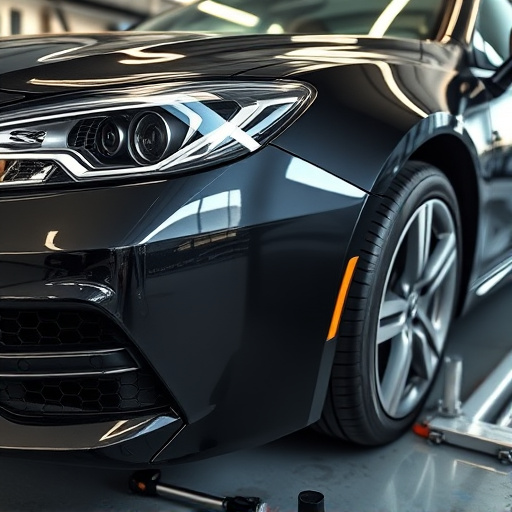
The passenger van, a workhorse on the road, presents unique challenges when it comes to body repair compared to its smaller counterparts. These larger vehicles often have complex structures with multiple panels and components that require specialized knowledge and equipment for effective repairs. The scale and design of passenger vans make dent repair, for instance, more intricate, as even minor dents can be more difficult to disguise due to their size and impact on the overall aesthetics.
Furthermore, when addressing passenger van body repair, vehicle paint repair plays a pivotal role in maintaining the vehicle’s original finish and color consistency. Autobody repairs on these vans demand precision and attention to detail to ensure structural integrity while preserving the vehicle’s value. The process involves careful disassembly, meticulous repair of damaged panels, and precise alignment to match the original factory specifications, ultimately determining the success and longevity of the repair.
Essential Tools and Equipment for Achieving Precision and Quality
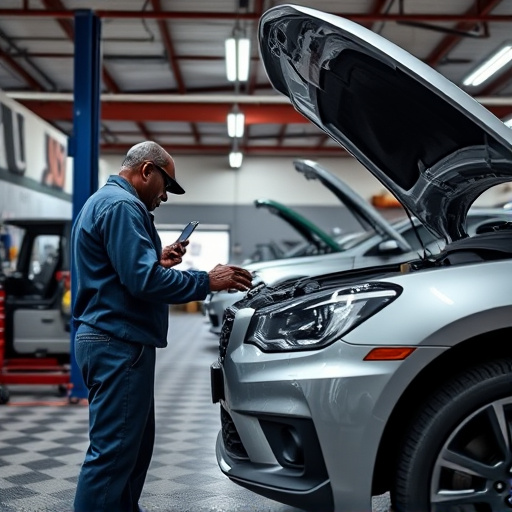
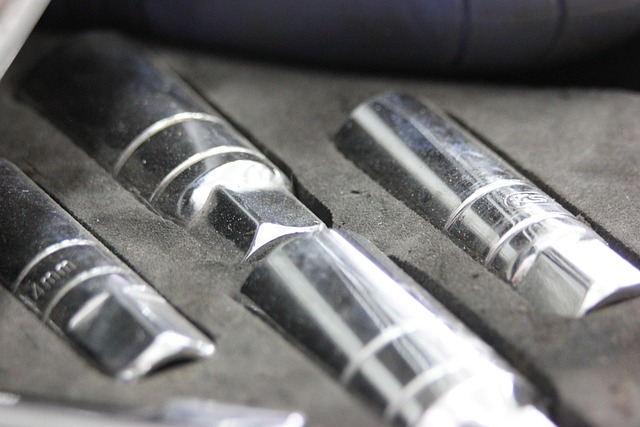
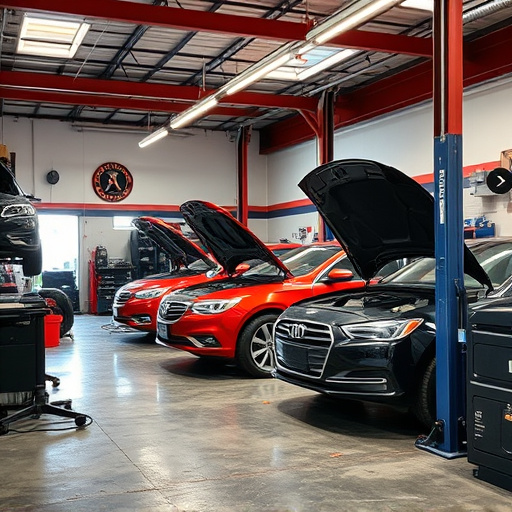
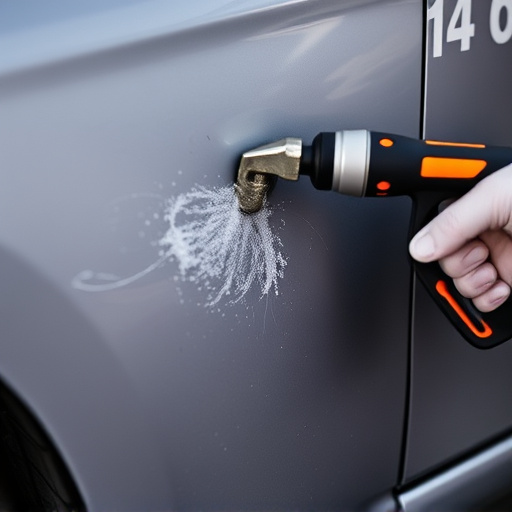
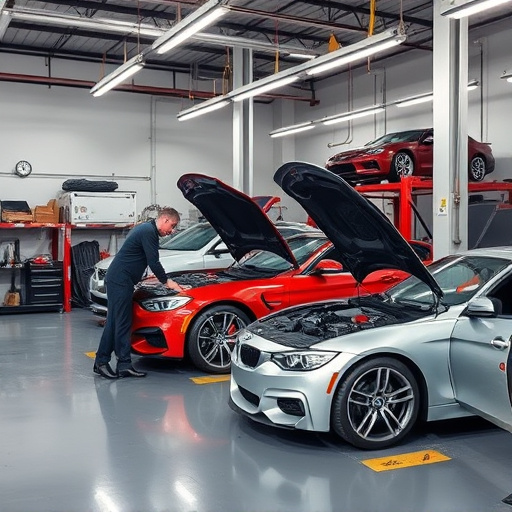
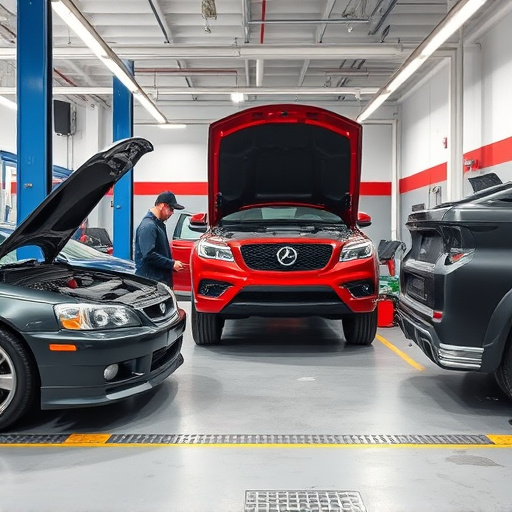
In the realm of passenger van body repair, achieving precision and quality is paramount. The right tools and equipment play a crucial role in ensuring that every dent, scratch, and deformity is accurately addressed. An automotive body shop equipped with state-of-the-art technology can significantly enhance the speed and effectiveness of repairs, leading to superior outcomes for clients.
Essential tools for this process include specialized hammers, precision shears, and a variety of welding equipment tailored for vehicle body repair. For painting services, an automated car paint system offers both consistency and efficiency. These advanced systems not only ensure that every inch of the van’s body is treated with care but also guarantee a seamless finish. Additionally, high-quality sanders and polisher machines are indispensable for smoothing out surfaces and achieving a flawless final product, catering to the highest standards in the industry.
Step-by-Step Guide to Effective Passenger Van Body Repair Techniques
Repairing a passenger van involves a meticulous process to ensure structural integrity and aesthetic perfection. Here’s your step-by-step guide:
1. Assess the Damage: Begin by thoroughly inspecting the vehicle for dents, cracks, or any signs of structural compromise after a fender bender or car dent repair. Identify the affected areas, including panels, frames, and trim pieces.
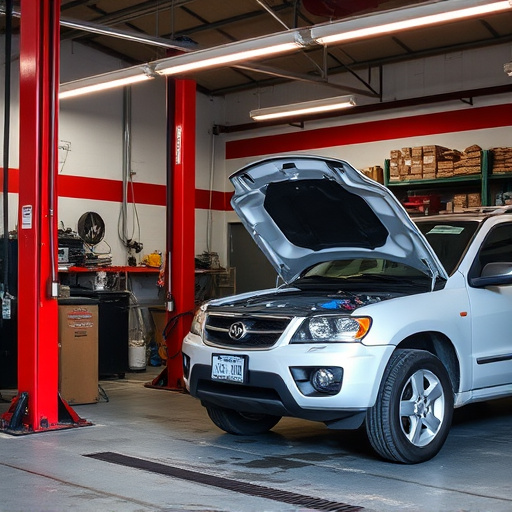
2. Safety First: Ensure proper safety protocols are in place. Use jack stands to safely support the vehicle while you work on it. Don protective gear, including gloves and safety glasses, to shield yourself from debris and potential hazards during the repair process.
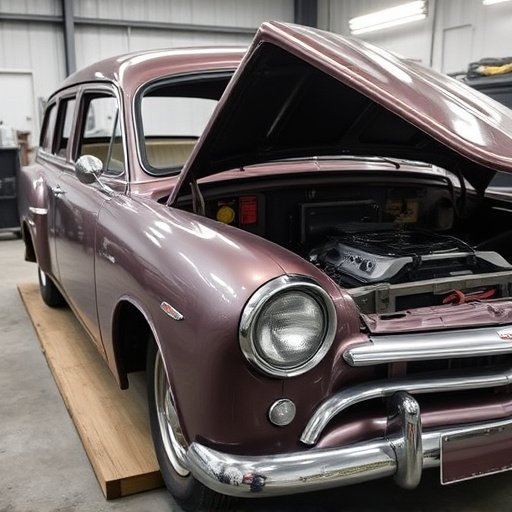
3. Demontage and Preparation: Carefully remove any damaged panels, fenders, or trim for easier access to the underlying structure. Use specialized tools for precise demontage, preserving as much original material as possible. Clean the affected area, removing all dirt and debris before proceeding.
4. Repair Techniques: Employ appropriate methods tailored to each damage type. For dents, use a combination of pounding and pulling techniques with specialized hammers and ding removal tools. In cases of cracked or broken panels, consider fusion welding or high-quality bonding agents for strong, long-lasting repairs.
5. Panel Replacement: If a panel is beyond repair, measure the replacement part precisely to ensure an exact fit. Use high-quality aftermarket or OEM (Original Equipment Manufacturer) parts for consistency and durability. Securely fasten the new panel, following the vehicle’s specific attachment methods.
6. Finishing Touches: After all repairs are complete, prime and paint the affected areas to match the vehicle’s original finish. Ensure even coating and allow adequate drying time before reattaching removed panels and trim pieces.
In conclusion, mastering the art of passenger van body repair involves a combination of understanding unique challenges, investing in essential tools, and following proven techniques. By navigating these key elements, repair professionals can achieve precision and quality repairs, ensuring safety and satisfaction for every passenger. Incorporating these strategies into your workflow will enhance your capabilities and solidify your reputation as an expert in the field of passenger van body repair.